What Size Hole Do I Drill for Mini Split Lines and Drain?
If you’re planning a mini split installation—whether it’s a single-zone or a more ambitious 3-zone system—you’re bound to hit the question early in your prep: what size hole do I drill for the mini split lines and drain? Getting this right is crucial for a clean, leak-free, and code-compliant job that won’t have you chasing repairs mid-weekend.
In this comprehensive guide, I’ll walk you through:
- The truth about “true DIY” mini split installs with pre-charged, quick-connect linesets
- How to plan a 3-zone system based on square footage and BTU needs
- Electrical realities of 115V vs 230V mini splits and what you really need to budget for
- Cold-climate performance differences between units rated to -13°F vs approximately 5°F
- And, of course, the best tools and tips on drilling that all-important hole with a 3 inch core bit, making the lines slope downward for drain line efficiency, and sealing your wall penetration like a pro.
Why Drill a Hole with a 3 Inch Core Bit?
Let’s start with the basics. The mini split lineset—which carries refrigerant between your indoor and outdoor units—plus the drain line and electrical conduit all need to pass through an opening in your home's exterior wall. The industry-standard hole size is typically 3 inches in diameter, drilled with a drill and a hole saw or 3 inch core bit. This size offers enough clearance for:
- Refrigerant lines: usually 1/4 inch and 3/8 inch copper tubing for typical residential systems
- Condensate drain line
- Power wiring and communication cables
Smaller holes can pinch and crush linesets or complicate trouble-shooting later, while larger holes require more complicated sealing and are generally unnecessary.
Pro Tip: Angle Your Hole Downward
To ensure proper condensate drainage, you want your penetrated hole angled slightly downward (about 5 degrees) toward the outdoor unit. This promotes a natural gravity slope in the drain line itself, preventing water from pooling inside the wall or around the indoor lines. You can do this by aiming your drill at a slightly downward angle or using a level to mark the drill spot and maintain angle precision.
Wall Penetration Tips: Seal It Right
After drilling, the magic isn’t done until you properly seal your wall penetration. This means:
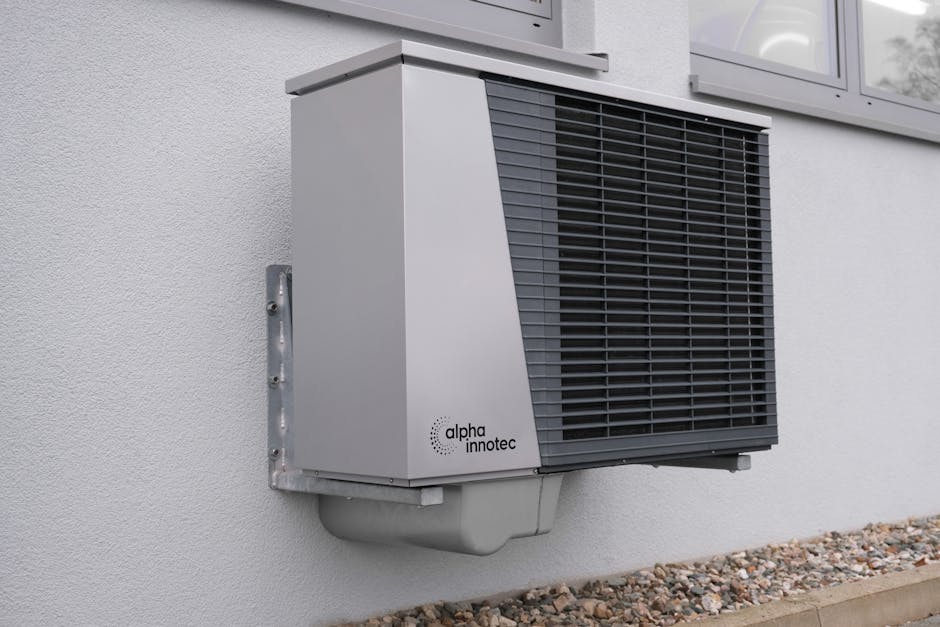
- Installing a durable insulated sleeve to protect the copper lines and drain from sharp edges
- Applying exterior-grade caulk around the hole to create an airtight and waterproof seal
- Ensuring the sleeve’s outer end directs water away from the wall
Ignoring this step can lead to water intrusion and insect entry, turning a simple job into an expensive and frustrating headache fast.
True DIY Mini Split Installs: What You Need to Know
The last few years have seen a surge in “DIY” mini split products marketed to homeowners looking to tap into their own HVAC skills. Great news—but beware the fine print.
Key brands like MRCOOL have pioneered pre-charged quick-connect linesets that allow homeowners to bypass traditional vacuum pump, flaring, and refrigerant charging steps. This makes the install more feasible for those without HVAC trade tools, offering true DIY potential.
However, many other companies like Pioneer and some offerings from Zone Air still require professional-level vacuuming and flaring—which means this isn’t a full DIY project and you should plan on contractor costs.
In summary:
- MRCOOL’s DIY systems: Quick-connect fittings, pre-charged linesets, no specialized HVAC tools needed
- Traditional systems (e.g., Zone Air, Pioneer): Require vacuum pumps, flare tools, and possibly refrigerant charging
Quick Checklist Before Drilling for Lines on DIY Units:
- Verify if lineset is pre-charged or requires charging
- Confirm sleeve size, typically 3 inches for standard systems
- Plan at least 6-10 feet of indoor to outdoor run for optimal performance
- Have a level and 3 inch core bit or hole saw ready
- Seal with sleeve and caulk after final positioning to prevent drafts and water intrusion
3-Zone Mini Split Systems: Sizing and BTU per Room
Considering a multi-zone setup? For example, Zone Air’s 3-zone wall-mount kits often range from approximately $4,100 to $5,600, depending on capacity and included components. These units typically come with three indoor heads controlled independently for maximum comfort and efficiency.
Proper sizing is essential to avoid oversized equipment that cycles excessively, or undersized units that struggle to keep up.
Sizing Tip:
Here’s how I convert BTU specs into real rooms:
Square Feet BTU Needed (Cooling/Heating) Typical Use 100-150 sq ft 6,000-8,000 BTU Small bedroom or home office 150-300 sq ft 9,000-12,000 BTU Medium bedrooms, dens 300-400 sq ft 12,000-15,000 BTU Living rooms or larger bedroomsWhen planning a 3-zone system, map each zone based on room sizes and heating/cooling demand. Zones with heavy sunlight or poor insulation may need upsizing. Zone Air's kits often include appropriately sized indoor units, but verify these match your rooms’ demands.

Electrical Reality Check: 115V vs 230V and Electrician Costs
A common mistake is underestimating electrical requirements for mini splits:
- Many small single-zone minisplits run on standard 115V circuits, often requiring a dedicated 15A or 20A breaker
- Larger multi-zone systems like Zone Air’s 3-zone kits usually require 230V service with a 30A or higher breaker
Running a 230V circuit if you don’t already have one means hiring an electrician to install a new breaker panel connection and dedicated wiring. Electrician costs vary, but expect anywhere from $500-$1,000 depending on distance, panel accessibility, and local labor prices.
Don’t DIY electrical work unless you’re licensed. Electrical permits are typically mandatory for residential HVAC installs, and improper wiring can void unit warranties and cause inspection failures down the line.
Cold-Climate Heating Performance: -13°F vs ~5°F
One often-overlooked aspect when choosing your mini split is cold climate performance. Some units are rated to provide efficient heat all the way down to -13°F (-25°C), while many standard models struggle below about 5°F (-15°C).
Want to know something interesting? why does this matter?
- If you live in a zone with frequent deep freezes, a unit rated to -13°F prevents reliance on backup heat strips or supplemental heating
- Units like some Zone Air models and advanced MRCOOL systems offer enhanced cold climate capabilities
- Lower-rated models can still be great for mixed climates but check your winter lows carefully before buying
Summary Checklist for Your Mini Split Hole Drill and Installation Planning
- Use a 3 inch core bit or hole saw to drill wall penetrations.
- Drill angled a few degrees downward for proper condensate drainage.
- Install an insulated sleeve in the hole before running lines to protect tubing.
- Seal the hole exterior with weatherproof caulk and possibly foam for airtightness.
- Pick a true DIY pre-charged system like MRCOOL if you want a vacuum-pump free installation.
- Plan your 3-zone BTU needs per room carefully, using tools and sizing guides.
- Confirm your home electrical panel supports the amperage and voltage requirements; plan electrical upgrades and permits.
- Evaluate cold weather performance, especially if your winter temps dip below 5°F.
- Consider total project cost including unit price, electrician fees, and installation tools.
Final Thoughts
Getting that hole size right—perfectly 3 inches, properly sloped, and well sealed—is a deceptively simple but critical step to a trouble-free mini split install. When paired with thoughtful equipment sizing, electrical planning, and realistic installation expectations, you’ll stay on budget and avoid those dreaded mid-weekend HVAC meltdowns.
For example, a Zone Air 3-zone wall-mount kit priced between $4,100-$5,600 can be an excellent investment—just remember cleanup your project with the right hole size, sleeve, and seal so you get years of happy, efficient heating and cooling.
If you embrace true DIY options like MRCOOL or work with reliable brands like Pioneer and Zone Air, you’ll have a much smoother mini split btu per square foot project from start to finish.
Happy drilling, sealing, and enjoying your perfectly climate-controlled home!